

Quickstart
Sign in, build a two-node graph, and generate your first image in about five minutes.
This walkthrough takes you from signing in to your first generated image.
1. Sign in
Section titled “1. Sign in”Open flow.hy.pe and sign in with your Google account. You’ll land on the dashboard of your organization — if your account isn’t part of one yet, ask an admin for an invite (see Organizations).
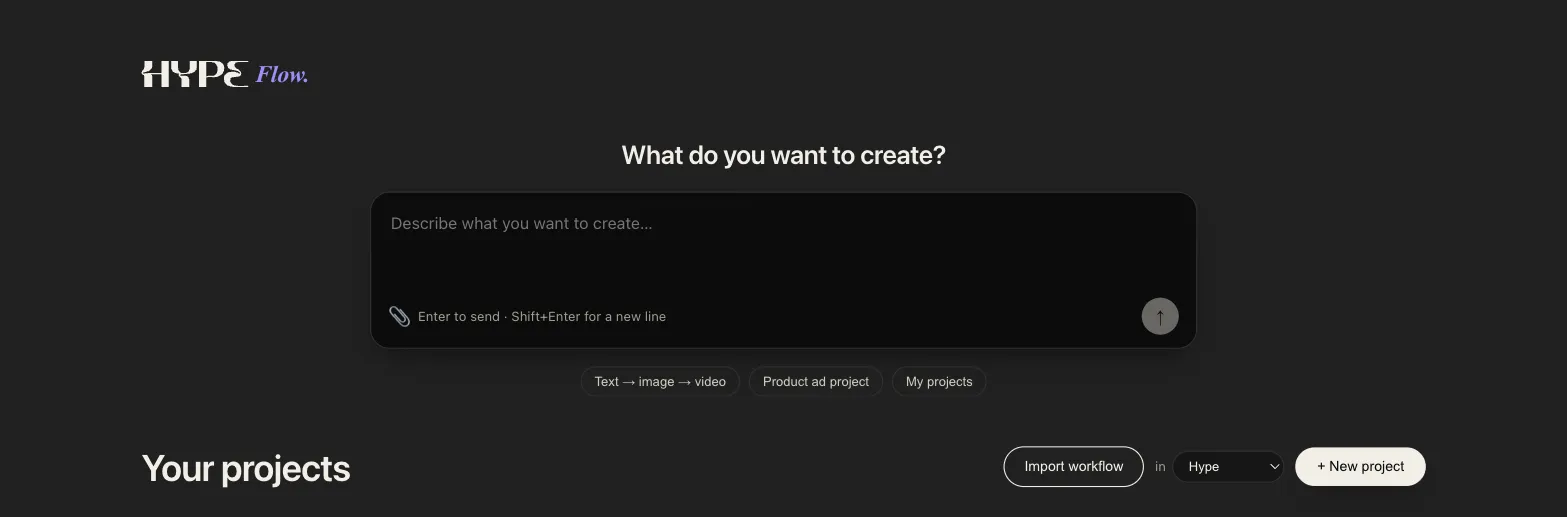
2. Create a project
Section titled “2. Create a project”From the dashboard, create a new project. If you belong to more than one organization, pick which one the project should live in. The project opens onto an empty canvas with quick-add cards for the most common nodes.
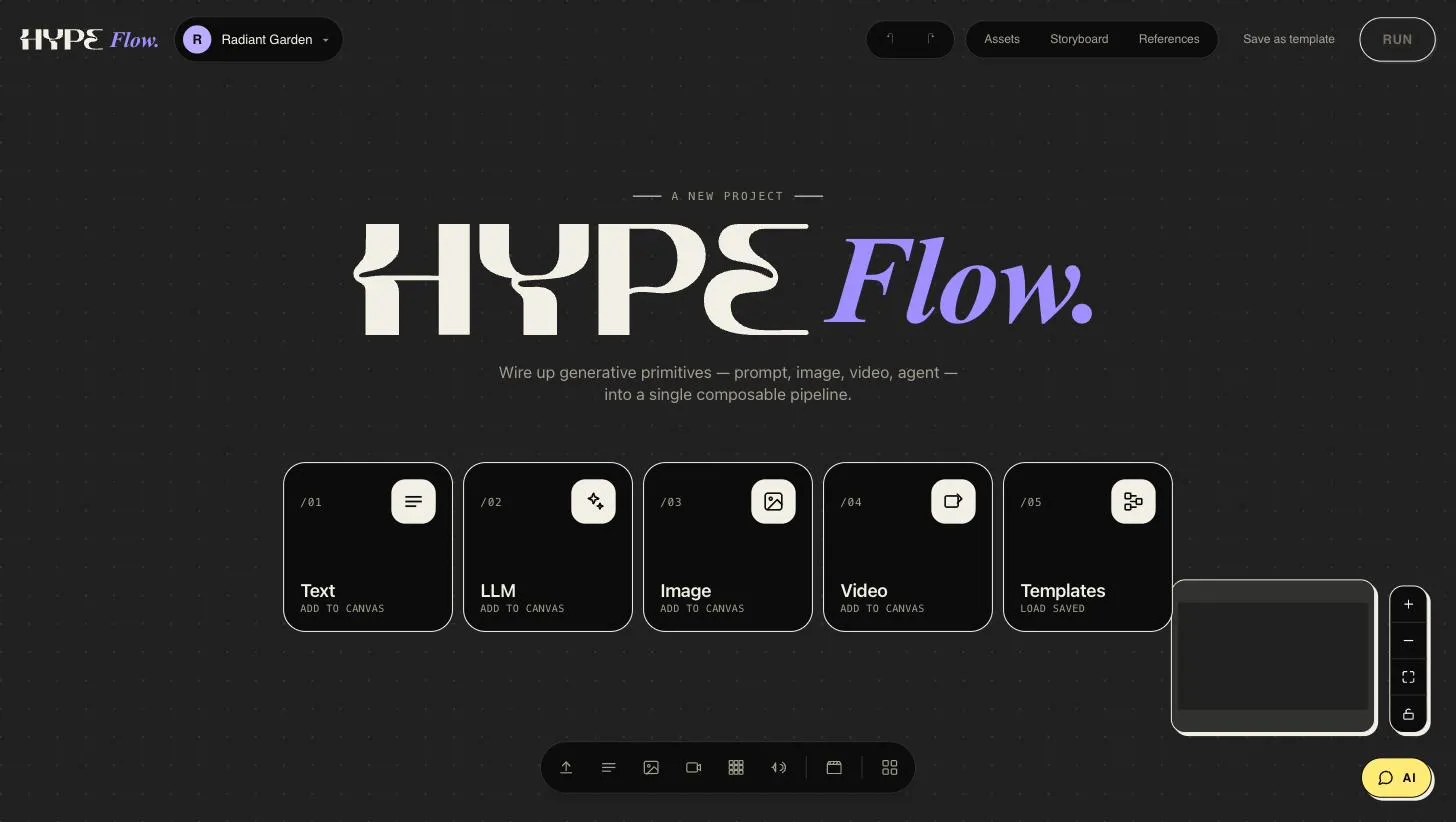
3. Add two nodes
Section titled “3. Add two nodes”From the node palette, add:
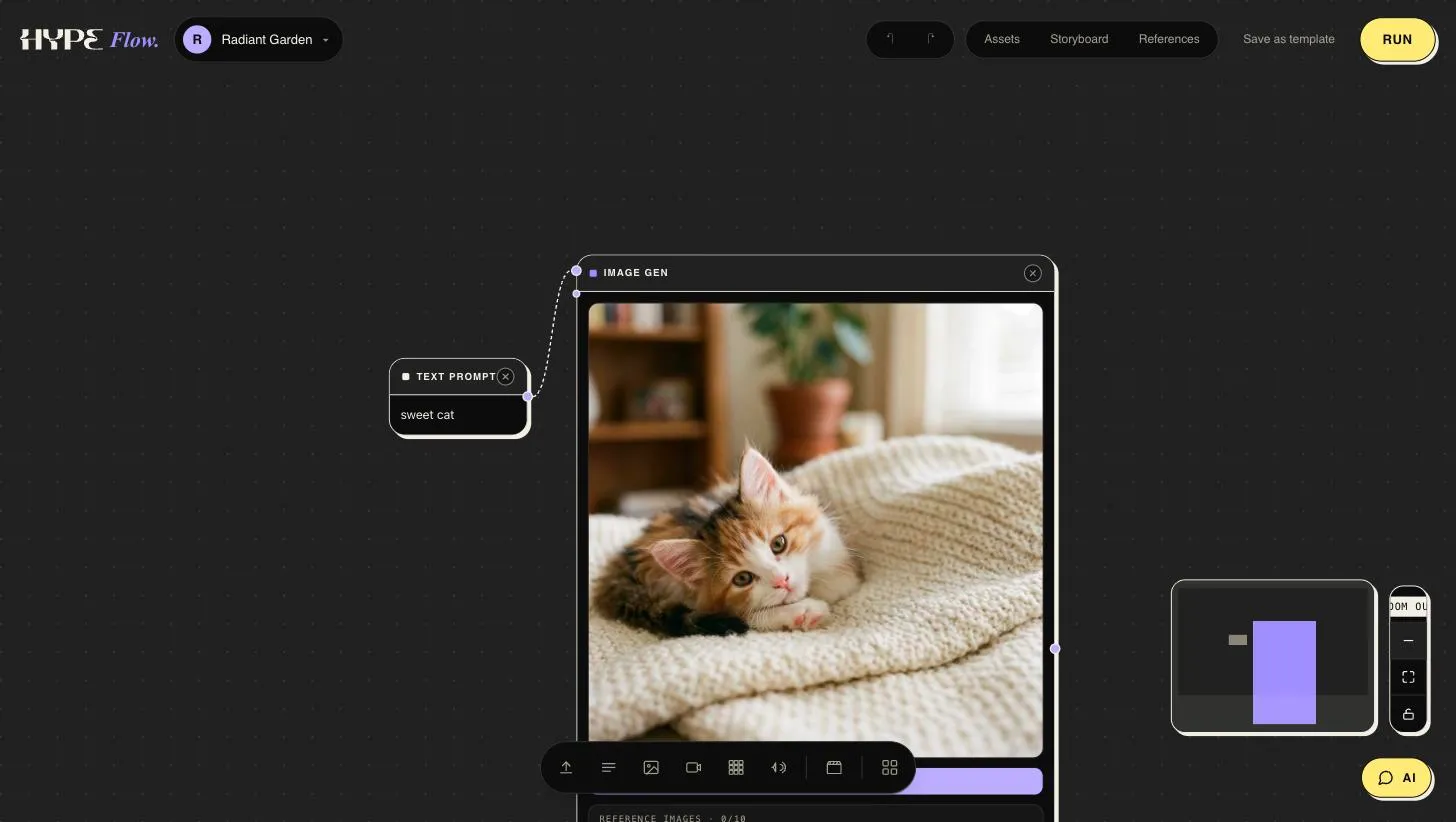
- A Text Prompt node — type a short idea, e.g. “sweet cat”.
- An Image Gen node — pick a model from the dropdown.
Drag a connection from the Text Prompt’s text output to the Image Gen’s
prompt input. Ports are typed — text goes to text, image to image — so the
canvas won’t let you wire something that can’t work.
4. Run it
Section titled “4. Run it”Press Generate on the Image Gen node. You’ll see the run’s estimated cost first; the generation is then dispatched to a background worker, progress shows on the node, and the finished image appears inline and in the project’s assets.
5. Iterate
Section titled “5. Iterate”- Not quite right? Edit the prompt and run again — each run is kept in the node’s generation history.
- Want variations? Raise
n_variants, or insert an LLM node between prompt and image to expand your short idea into a rich, cinematic prompt. - Want your product/character in the shot? Add an Image input node with a photo and wire it into one of Image Gen’s reference inputs — see Reference images.
Where to next
Section titled “Where to next”- Core concepts — the mental model in five minutes.
- Working on the canvas — palette, wiring, layout, shortcuts.
- Node reference — everything each node can do.