

Reference images
Using reference images for identity, style, and composition control.
Reference images are how you move from “an image like this” to “this product, this character, in a new scene”. Generation nodes accept them alongside the prompt — Image Gen takes up to ten, Collection up to four, and Video Gen uses them next to its start/end frames.
Wiring references
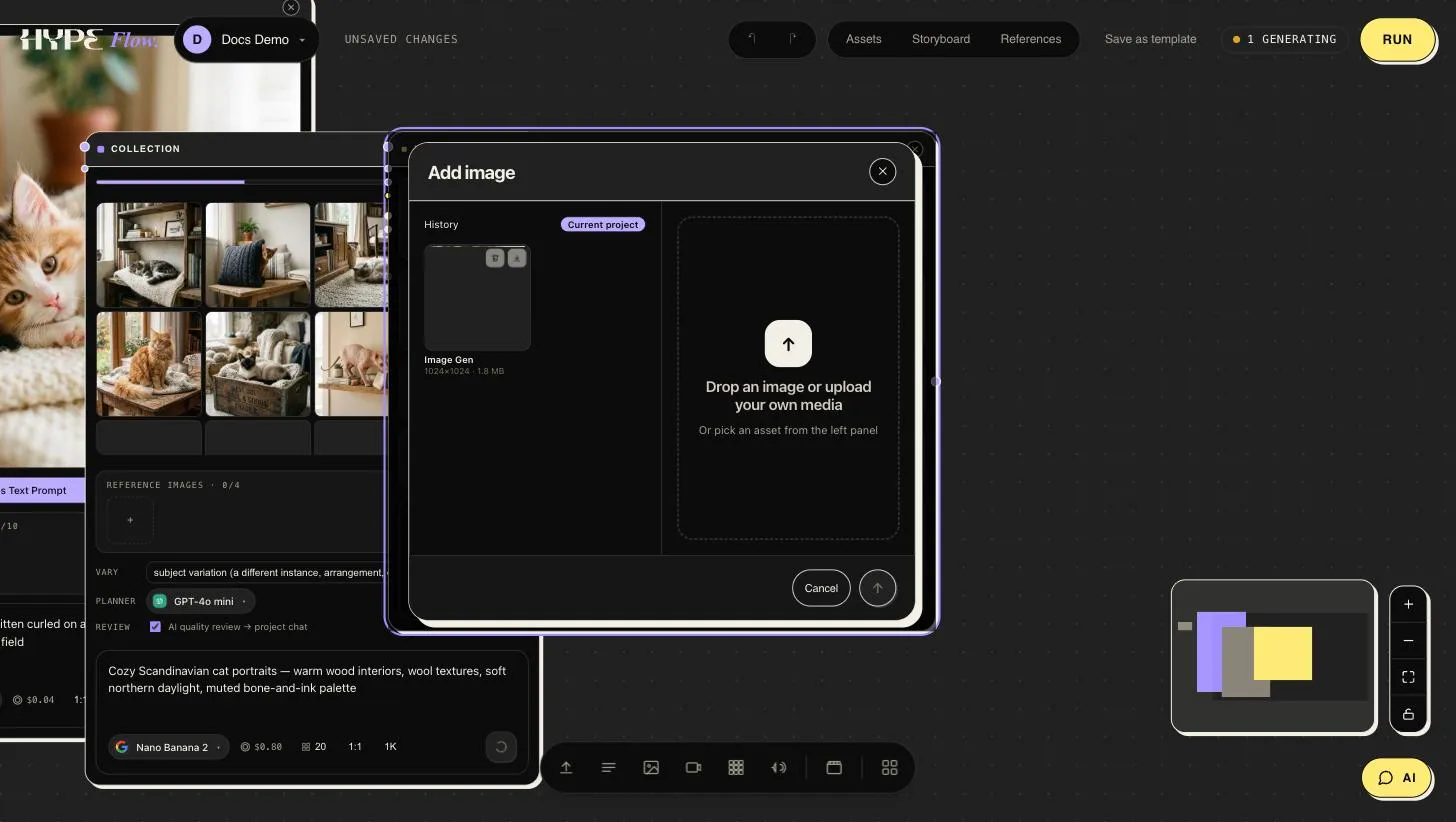
Section titled “Wiring references”Add an Image input node per reference (or paste images straight onto the canvas with ⌘V) and connect each to a numbered reference slot. Clicking any reference well or frame slot opens the asset picker — upload something new or pull any image the project already holds:
On a video node the ports sit on the card’s left edge, just under the title: Images, Videos and Audio each take as many wires as the model accepts. Hover a dot to see its name.
To mention a reference in the prompt, type @ — a list of the node’s
references opens (thumbnail, @image1…, and the name of the node each comes
from). Keep typing a number or part of the name to narrow it, then press
Enter or click. Hovering a mention shows which node it points at.
References are numbered in order — wires on the Images port first, then
uploaded ones — and @image1, @image2… in the prompt follow those numbers.
Connecting a new image can therefore move the others down; when that happens
on a node whose prompt already mentions references, the canvas tells you to
check the mentions.
Getting the most out of them
Section titled “Getting the most out of them”- Address references in the prompt. Models follow better when told what each image is for: “the jacket from the first reference, worn by the woman from the second, at golden hour”.
- Order matters. Put the reference that must dominate first — several model families weight earlier images more heavily.
- Fewer, cleaner, closer. Three sharp, well-lit images of the subject beat ten mixed ones. Crop out clutter that isn’t the point.
- Style vs. identity. For identity (this exact product/person), use photos of the subject. For style (this look), consider distilling it into a library style instead — text travels across models more predictably than a style-reference image.
Character consistency across shots
Section titled “Character consistency across shots”The pattern that holds a campaign together: